Respecting individual’s choices and preferences is a key tenet of Web Push Notifications design. Hence, the opt-in for Web Push Notification requires an explicit click on Allow, and your subscriptions appear in individuals browser settings. If you are using any push notification service, check the different ways for the user to unsubscribe. At PushEngage, we respect individual preferences and have created multiple options for the user to unsubscribe from the push notification. We have written a guide on how to unsubscribe from Web Push Notifications using the browser settings.
With privacy regulations like GDPR, we have worked on making it much easier for you to offer an unsubscribe option, and that too provides you the granular option for unsubscribing to your subscribers. We have created all the features necessary for GDPR Compliance for Web Push Notifications from PushEngage
You can choose from 7 different types of push notification opt-in. So now, if any of your existing subscribers wish to disable the web push notifications, they can now make use of our “Unsubscribe Opt-in”. This would help your existing subscribers to unsubscribe in just one click
Unsubscribe Opt-in can be customized in two ways
- Widget
- Bell
You can have these settings enabled across all your pages or at any page to let subscribers have the option of unsubscribing from your Push Notifications. These settings can be done from your PushEngage Dashboard.
Below are the steps to enable the settings:
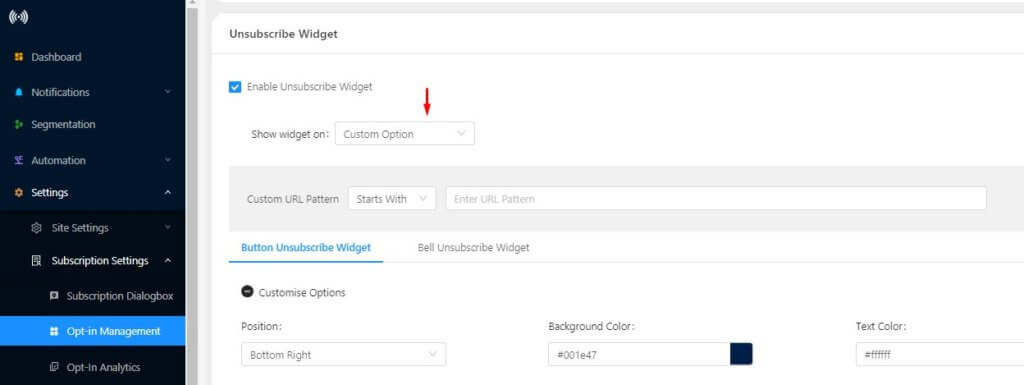
Navigate to Settings > Subscription Settings > Opt-in Management.
Step 1) Click to Enable Unsubscribe Management.
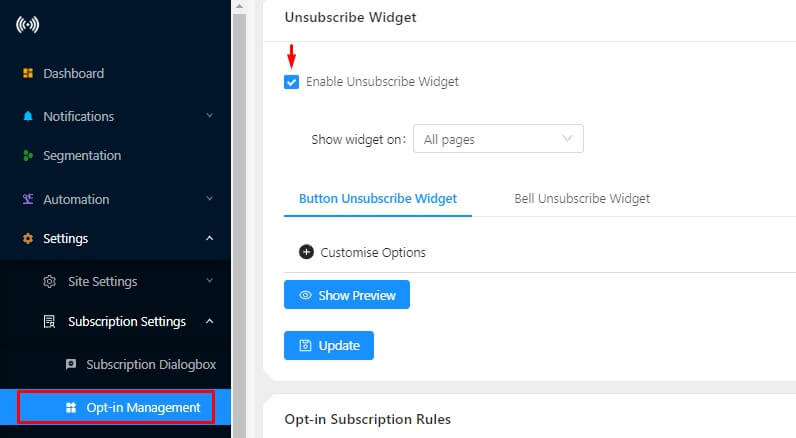
Step 2) Next select where you want to display the Unsubscribe Option to users:
- All Page: Unsubscribe Widget will appear on all pages
- Custom Page: Select the URL pattern for the pages where you want to show Unsubscribe Widget. You can select any one option for your custom page.
Step 3) There are two types of Unsubscribe Widget you can choose from:
- Button Unsubscribe Widget: It will appear as a Button. The user can click on this button to unsubscribe from your Push Notification.

- Bell Unsubscribe Widget: It will appear as Bell on your page. On a single click, the user will be able to unsubscribe from your push notification

You can even customize the messaging of your Unsubscribe Widget. Check the below steps to customize the widget:
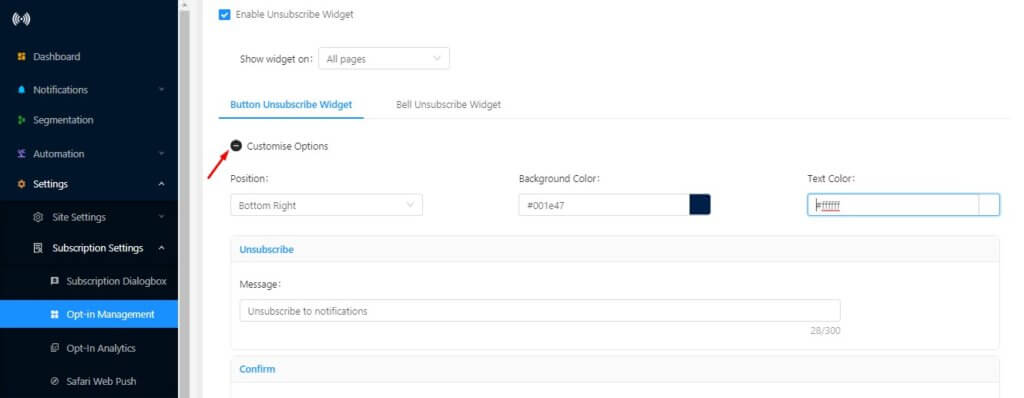
Select the type of Unsubscribe Widget. For e.g. we have selected the Button Unsubscribe Widget.


Title – Title appears on the Unsubscribe Button. You can edit the text message to make it more clear to the user.
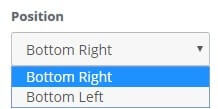
Position – You can choose where to show the opt-in for un-subscription. The Opt-in can appear on the bottom left or the bottom right corner of your page.

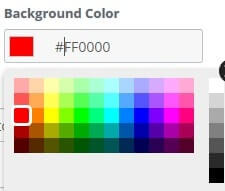

Background Color – You can even customize the background color of your un-subscription opt-in. Once done save it and the same would reflect on your un-subscribe opt-in.
Confirmation Message – This message appears when the user clicks on Unsubscribe Button.
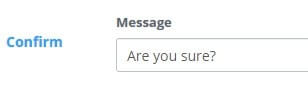
Confirmation Option – You can suggest the action name like Yes/ No or Unsubscribe/ Don’t Unsubscribe. Your subscriber will take action accordingly.
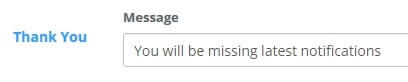
Thank you Message – This appears at the end once your subscriber clicks on the Button.
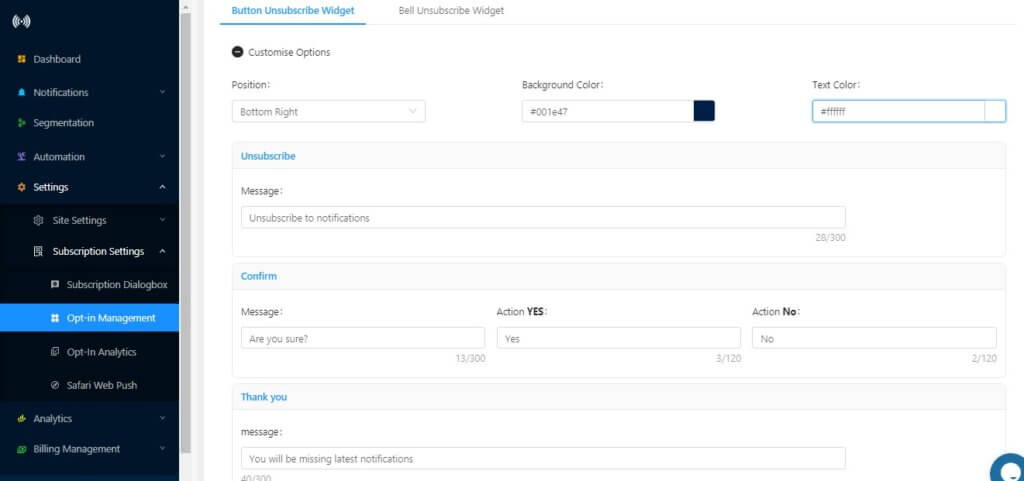
Once all the settings are done, click on Save. The Unsubscribe Widget will become active on your website.
Here’s a screenshot of the settings –
You can follow the same steps to customize for Bell Unsubscribe Widget.
Best Practices for Creating an Unsubscribe Section for GDPR
We suggest you create a separate page on your website for offering your subscribers to unsubscribe.
a) As an example, you can make an example.com/unsubscribe section on your site.
b) Next, you can add instructions on this page on how to unsubscribe using the browser settings. Here is the link to an unsubscribe guide that we have, which you can use – different ways to unsubscribe.
c) Next, you select this page in the Custom Option for showing the Unsubscribe Widget. Then configure our widget to show the Unsubscription Widget on that page only.
You can show different ways to unsubscribe from your push notification
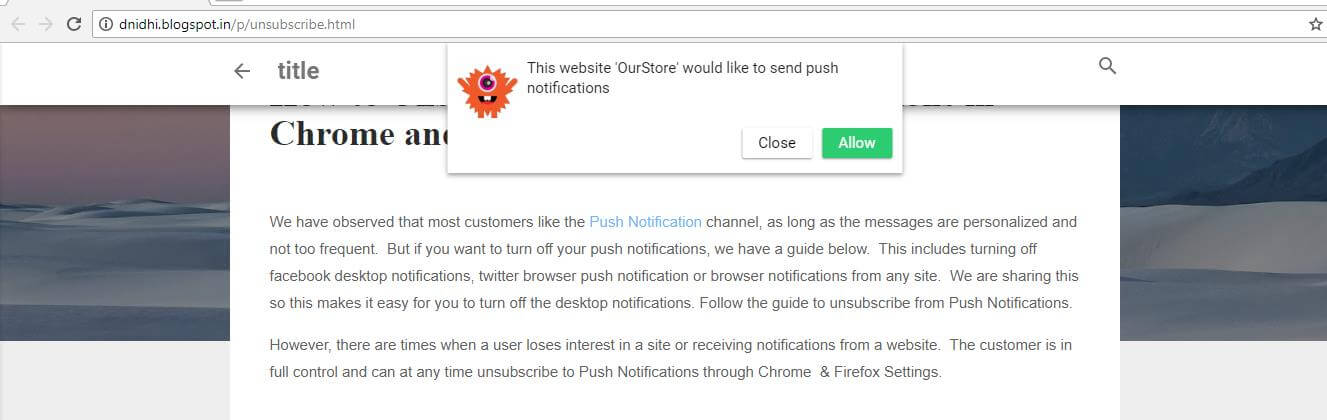
We have configured a test setup for you at – http://dnidhi.blogspot.in/p/unsubscribe.html. There you will have an article on “How to Unsubscribe from Push Notifications on Chrome and FireFox”
Also, an opt-in will appear on your screen so that you can subscribe to the notifications. You can do a round of testing by subscribing to the notifications and once you subscribe you will receive a welcome notification.
Then when you scroll down you will get the Unsubscribe Opt-in that you can use to unsubscribe from the notifications. Here’s a screenshot for your reference:
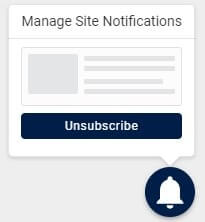
Once you click on unsubscribe, you will be marked as an unsubscribed user.
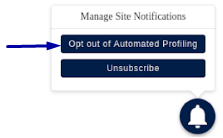
With PushEngage, subscribers have the right to opt-out of the notifications received through auto-responders and trigger notifications. This works the same as Unsubscription Widget where the user is provided with an unsubscribe widget and gets an option to unsubscribe to the notification or to Opt-Out of Automated Profiling. To enable these settings, navigate to Settings > Subscriber management and enable Automated Personal Notification. Once the settings are enabled subscriber will get the same opt-in on the unsubscription opt-in.
How to show the push notification permission box again to the unsubscribed user, in case they changed their mind?
Below are the ways:
- Get Notification Widget: From Dashboard, go to Subscription Dialog Box Settings. You will see the below option to enable it.
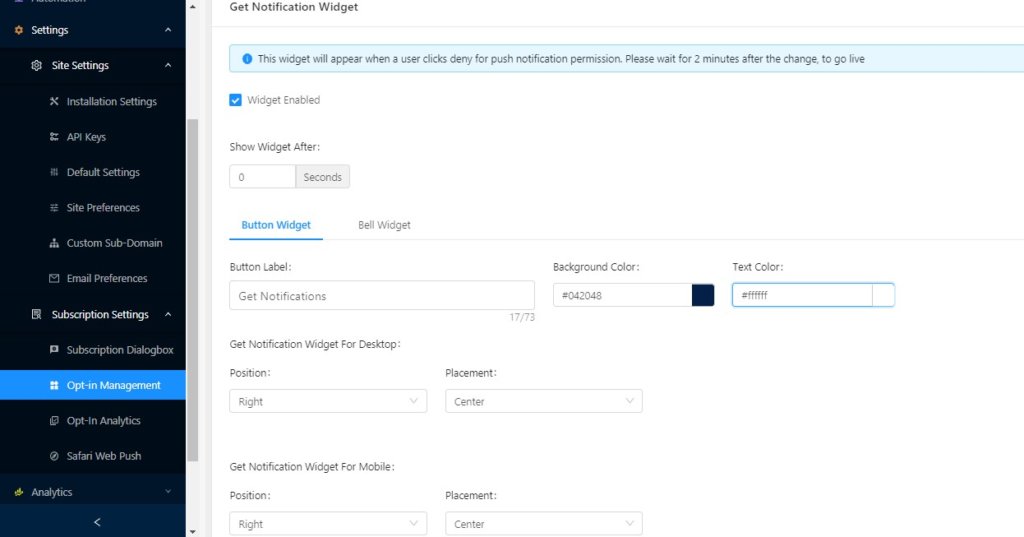
Enable the option. You can even customize the background color and text color. This widget will appear once user Deny Push Notification service or Unsubscribed from your push notification. Here’s a screenshot for the same-
Displaying the “Get Notification” widget also confirms that your users have been successfully unsubscribed from the notification. If you have not enabled the “Get Notification” widget in your settings, then your subscribers will still be marked as unsubscribed from the notification and will no longer receive the notification from your website.
- Set-Cookie Duration: If you do not want to enable the “Get Notification” widget, you can set the cookie duration to show the push notification opt-in to the user. Go to Subscription Dialog Box and Edit:
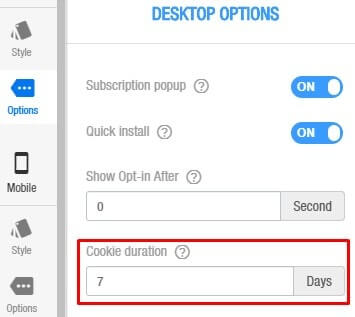
Select the cookie duration for Desktop:
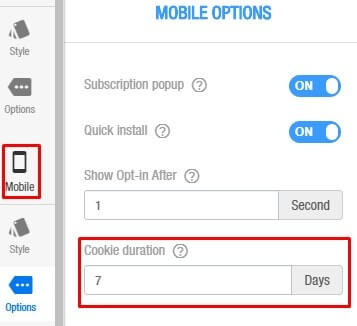
Select the cookie duration for mobile:
Once you set the cookie, the push notification opt-in will reappear to the user after the set days.


PLEASE UNSUBSUBSCRIBE ME! I AM BEING INUNDATED WITH MESSAGES!!! I ONLY WANTED ONE RECIPE FROM WHOLESOME YUM!
Hi, Eleanor. I’m so sorry that you had to go through this experience. Unfortunately, we don’t create push notification campaigns for Wholesome Yum. So, you may want to speak to Wholesome Yum, about sending you more relevant content. And if you need an instant fix for this, you could read our article on how to unsubscribe from push notifications. Hope this helps.